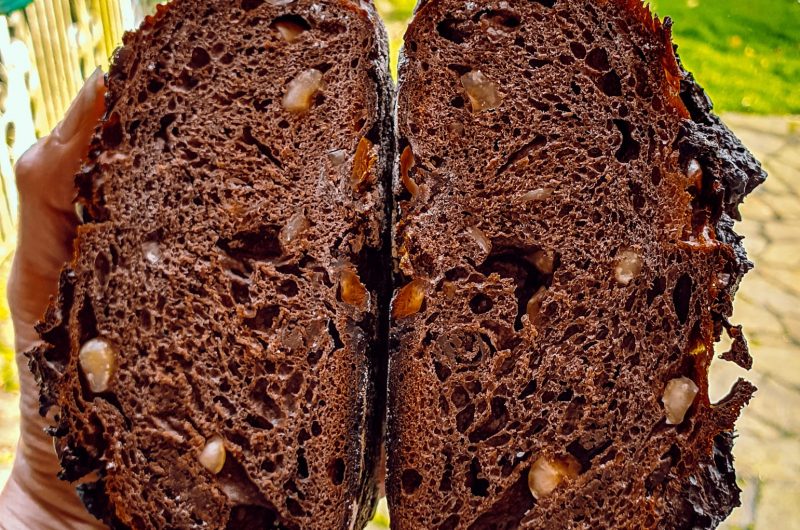
CHOCOLATE HAZELNUT SOURDOUGH BREAD
This post may contain affiliate links from iherb.com and other companies, which means that if you click on one of the product links, I’ll receive a small commission. I only recommend products that I use and love. Thank you for your support.
My favorite superfood in the world …… cacao powder and what do we make with it? Chocolate and Nutella!!! That’s why I bring you this Chocolate Hazelnut Sourdough Bread, for a Sunday brunch, breakfast or afternoon tea/coffee.
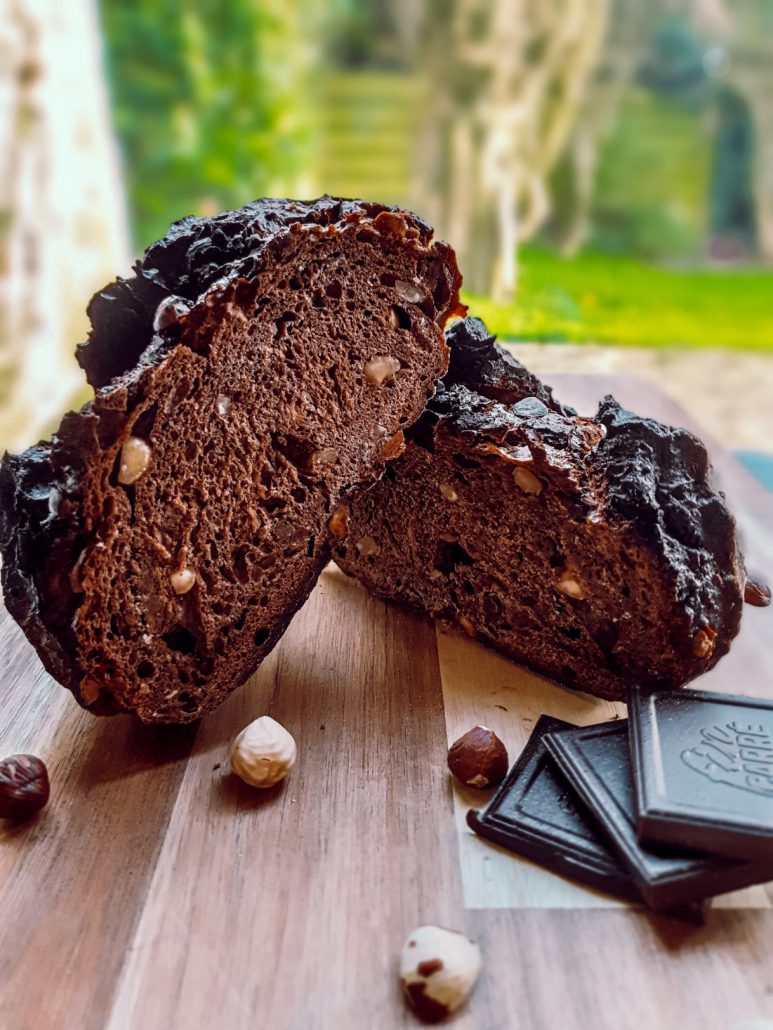
Why Chocolate Sourdough Bread?
Well, everything started about 8 months ago when the pandemic began. I am a stay-at-home wife so I was already used to being at home all the time…. But for a good 3 or 4 months, I didn’t have to get up early in the morning to feed my stepdaughters or drop them to school. So, I had a little more free time, and starter to hear about Sourdough everywhere, so I went and look into it.
Since then, I have made so many sourdough starters wheat bases and gluten-free as well. When I baked my first gluten-free sourdough bread, I loved it so much, the taste was sublime. As a result, I decided to give it a go to a wheat base bread for my husband and kids. Weeeell, I did try it as well, I miss sooo much wheat bread. But first I took my GlutenEase pill (15 to 20min before eating) which helps me to digest wheat-based bread.
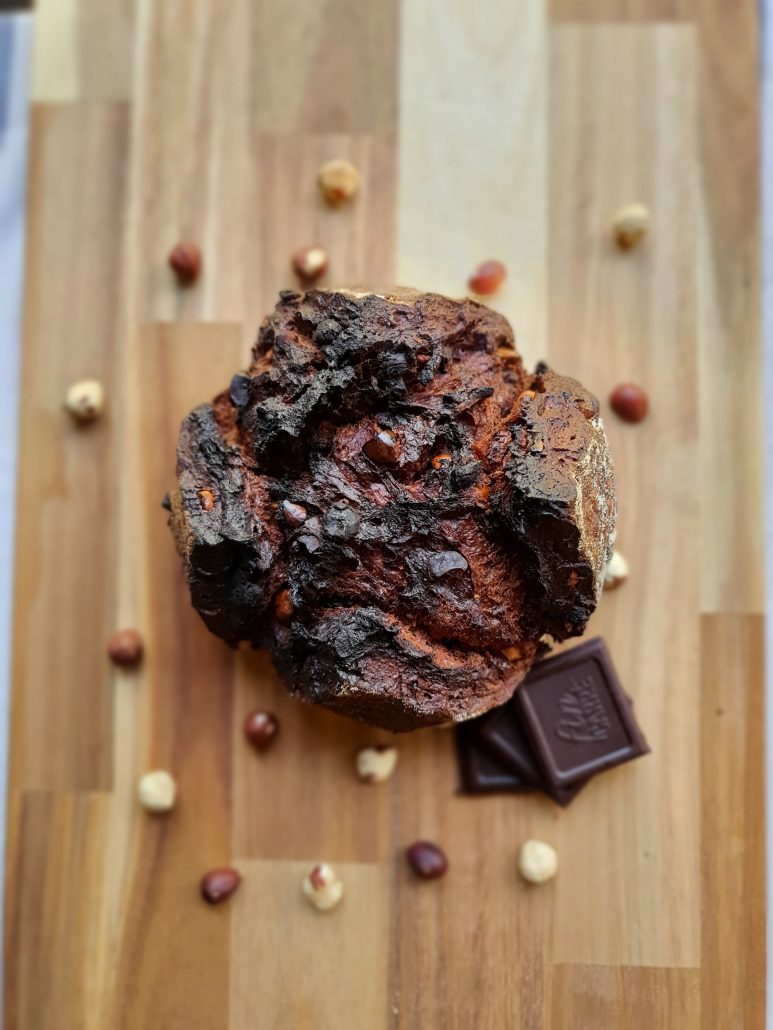
Now knowing that I love the taste of sourdough bread, its tangy flavor, oh my gosh, mouth watery right now, literally!!!. Therefore, I will be baking bread weekly, for sure.
I know I promise to share Gluten-free recipes because I don’t tolerate wheat, but I just wanted to try first the original recipe and then make the transformation.
If you own a sourdough starter you are sorted, but if you don’t just go to my post Whole Rye Sourdough Starter, and make your own one. Not difficult at all just need patience and a little time.
What you will need for this Chocolate Hazelnut Sourdough Bread?
You will need bread flour or strong white flour, as known in Ireland and UK, Organic wholemeal (wholegrain) Spelt flour, organic Wholemeal dark rye flour, organic unsweetened cacao powder, 85% dark chocolate or chocolate chips (if you make your own even better) and hazelnuts. Additionally, if you wish, you can add raisins or craisins. But I didn’t have any at hand at the moment so I skipped them. Also, you will need salt, sugar, and the star, the sourdough starter.
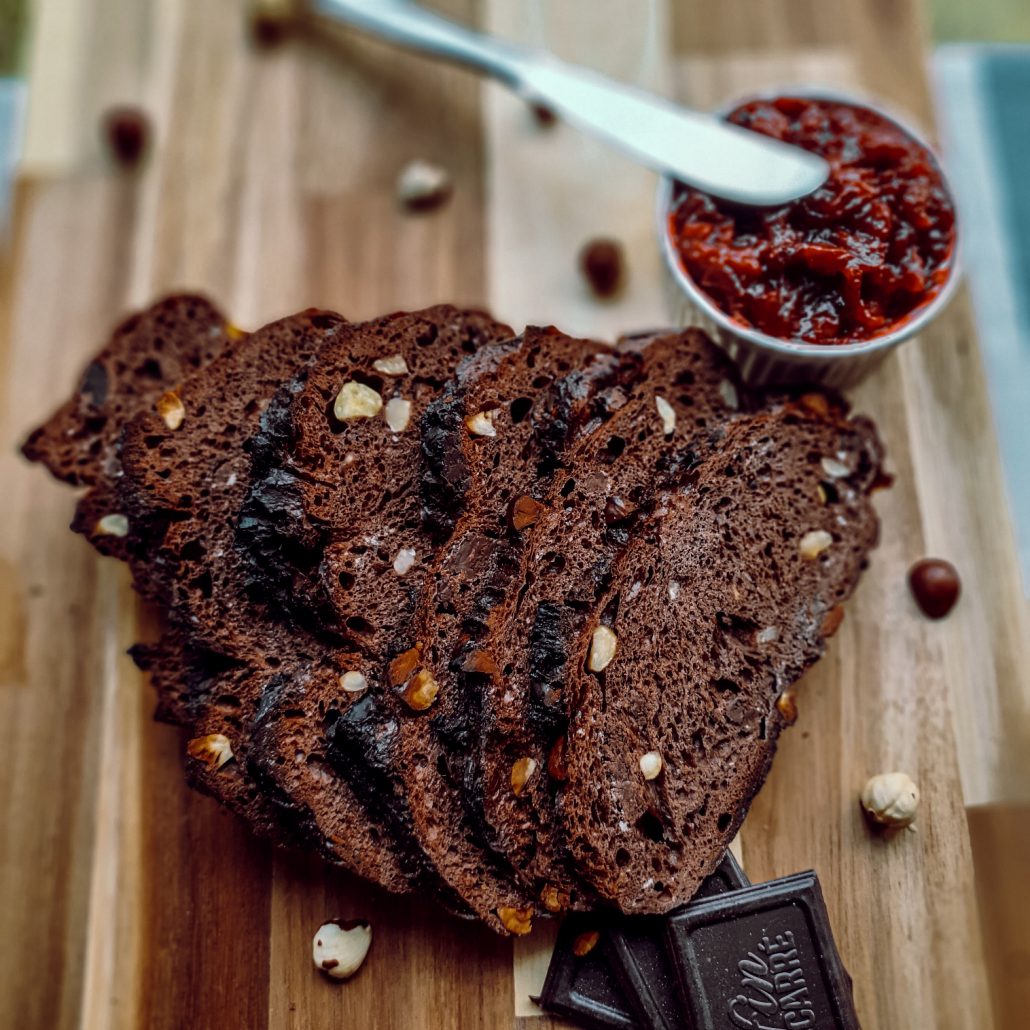
For instance, I took some of my Whole rye sourdough starter and feed it with Spelt flour to make the levain just for this recipe. Turned out pretty good.
Hope you enjoy my recipe and give it a go, snap a picture tag me on Instagram @ikarlina_l #ikarolina_l so I can see it. Also, I am on Pinterest iKarolinaL and Facebook ikarolinal . It will make my day.
Share this recipe for Chocolate Hazelnut Sourdough Bread on social media
This is my recipe for Chocolate Hazelnut Sourdough Bread. If you like the recipe then consider sharing it with other Sourdough lovers on social media.
CHOCOLATE HAZELNUT SOURDOUGH BREAD
Course: RecipesDifficulty: Medium1
slice30
minutes45
minutes134
kcal3.5
hours16
hours75% hydration 24% inoculation total dough 515g
Ingredients
- Levain:
10g bread flour (50%)
10g Spelt flour (50%)
20g water (100%)
10g rye sourdough starter (100% hydration) (50%)
- Dough:
140g bread flour (68.3%)
45g Spelt flour (22%)
20g Rye flour (9.8%)
148g water (72.2%)
4g salt (2%)
18g Coconut sugar (8.8%)
18g Cacao powder (8.8%)
8g honey (3.8%)
24g chocolate 74% (11.7%)
40g hazelnuts (19.5%)
Directions
- Make the levain – I usually do it in the morning in the warmer months and at night in winter
- Mix the starter, flour, and water together to make the levain in a tall glass jar, I recycle a pasta sauce jar with a lid and I am sorted.
- Put an elastic band around the jar where the top of the levain finish so you can control the growth. Also, you can use a marker to trace the evolution.
- Put a lid loosely on top and put somewhere warm until doubled. I use my DIY proofing box.
- Mix the Dough – noon or early afternoon
- In a bowl add bread flour, Spelt flour, rye flour, sugar and cocoa powder and mix well.
- Now add the salt and mix again.
- Add the water, honey, and the levain, after has doubled in size, to the flour mixture.
- Blend everything so that all flour is hydrated. The mixture can be a bit stiff so knead lightly if needed. You can also use your stand mixer if you wish. So, take your time and make sure you have everything incorporated.
- Cover with a damp kitchen towel or if the bowl has a lid it will work as well.
- Leave the dough to rest for 1 hour.
- Mix in the add-ins –
- Wet your hand and lose the dough from the bowl.
- Drizzle about half of the hazelnuts and the chocolate chips on top of the dough and do a stretch and fold to incorporate them, pour more and do another stretch and fold, now the rest of the hazelnuts on top and stretch and fold a couple of times again.
- Leave the dough to rest for 30 minutes.
- Bulk fermentation
- You will be doing 3 sets of stretch and folds every 30 minutes.
- First, wet your hands to loosen the dough from the sides of the bowl.
- Then grab one side of the dough with one hand and stretch the dough as far as it goes without breaking it. Then fold it down over the dough.
- Take the bowl and turn it around a quarter and repeat 3 more times until you have stretched and folded the dough from all four sides like a cross sign.
- Leave the dough to rest covered for the next 30 minutes in a warm place 25C to 28C. If your kitchen is lower than 25C you might leave more time in between the stretch and folds 45min for example.
- After the 3rd set of stretch and folds, you can try and do a windowpane test to see how is the gluten development is doing. But this can be hard because the hazelnuts and chocolate chips cutting the pane. The long autolyze should have made sure that gluten is properly developed.
- Now leave the dough to rest in a warm area until it’s grown by 25 – 50% and looks puffier. It usually takes 2½ hours at 21°C or less at a higher temperatures. But you should check the dough every 45min or so.
- Preshape – late evening
- When the bulk fermentation has finished, it’s time to pre-shape it.
- Pour the dough onto your un-floured surface.
- Using a bench scraper stretch each of the four sides out and fold it over the dough. Sort of like an envelope.
- Grab the dough with your bench scraper and flip it upside down, so that the part that was facing the table is now upwards.
- Put your bench scraper behind the dough and pull it forward over the table, so that the front of the dough is pulled down underneath the dough ball. You can use your other hand to guide the dough.
- When the dough ball can’t get any further, put the bench scraper in front of the ball and push it forward while turning the scraper around so that you end up behind the ball again.
- Keep going until the dough ball has a tense surface.
- Leave the dough rest on the counter for 20 minutes.
- Shape the dough
- Start by covering a soup bowl with a clean kitchen towel (tea towel) and dust liberally with rice flour or if you have a banneton even better.
- Once the 20 minutes are up you should shape the dough.
- Follow the instructions for the pre-shape and once the dough is shaped. Flip it upside down into the floured soup bowl or banneton.
- Put the soup bowl or banneton in a plastic bag and place it in the fridge overnight, I let my one for 18 hours which develops more flavor. But feel free to let it less time as you wish.
- Bake the bread – next day
- Heat your oven to 260°C/500°F. I have two methods here. First with baking steel (optional) and Dutch oven inside. Heat for an entire hour to make sure both are completely saturated with heat. The second method, if you don’t have a Dutch oven make sure to preheat your oven for an hour, 15 min before the hour mark place in the bottom of the oven a tray with boiling water to create steam that will make your bread spring.
- Method 1. Grab the dough from the fridge. Remove the bag.
- Dust the bottom of the boule with rice flour and put parchment paper over and your peel on top. Flip it over so the dough rests on parchment paper on the peel.
- Dust the top of the boule with more rice flour and smooth it carefully with your hands.
- Score the dough with a sharp knife or a razor.
- Open the oven and take out the Dutch oven carefully it is burning hot. Place it on a heatproof mat, remove the lid. Grab the four corners of the parchment paper and place the dough with the parchment paper inside. Take a few ice cubes and put them inside the Dutch oven under the paper, this will create more stem inside for better spring. Put back the lid on and place back the Dutch oven in the oven.
- Close the oven and bake for 20 minutes.
- Then open the oven and take the top off the Dutch oven.
- Turn down the heat to 230°C/450°F.
- Bake for another 20 minutes until the bread is golden and crispy.
- Take the bread out and put it on a wire rack to cool.
- Method 2. the dough from the fridge. Remove the bag.
- Dust the top of the dough in the loaf pan with rice flour carefully.
- Score the dough with a sharp knife or a razor.
- Take an additional tray and fill it up with ice and place it at the bottom of the oven beside the other tray with water.
- Now place the loaf pan in the middle rack of the oven.
- Close the oven and bake for 30 min at 260 C.
- Turn down the oven to 230 C and bake for a further 25 min until golden crispy.
- Take the bread out and put it on a wire rack to cool at least for an hour.
Notes
- This dough will be a bit difficult to do the stretch and folds because of the add-ins.
Nutrition Facts
1 servings per container
Serving Size1g
- Amount Per ServingCalories134
- % Daily Value *
- Total Fat
4g
7%
- Saturated Fat 1g 5%
- Trans Fat 0g
- Cholesterol 0mg 0%
- Sodium 157mg 7%
- Potassium 28mg 1%
- Total Carbohydrate
20g
7%
- Dietary Fiber 2g 8%
- Sugars 4g
- Protein 4g 8%
- Calcium 2%
- Iron 11%
* The % Daily Value tells you how much a nutrient in a serving of food contributes to a daily diet. 2,000 calories a day is used for general nutrition advice.


